Begin using QuoteWerks by clicking the QuoteWerks icon on your Desktop, or by going to Start -> All Programs -> QuoteWerks and clicking QuoteWerks from the list.
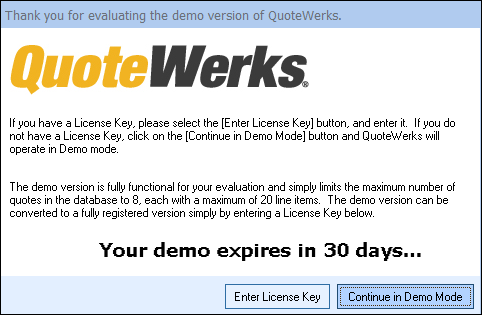
Step 1: Enter License Key or Continue in Demo Mode
If you are using the fully SaaS QuoteWerks, one key starting with the letter X and your Tenant Account information will control all of your QuoteWerks licensing and modules.
If you have purchased your QuoteWerks licensing outright, then you will enter your License Key(s) for your QuoteWerks Edition and Real-time module, while your Tenant Account information will control any additional subscriptions.
Continue in Demo Mode
Choose this option to not enter License Keys at this time.
Step 2: Run the QuoteWerks Setup Wizard
Next, you'll be prompted automatically to run the QuoteWerks Setup Wizard.
Next, you’ll be prompted to log in.
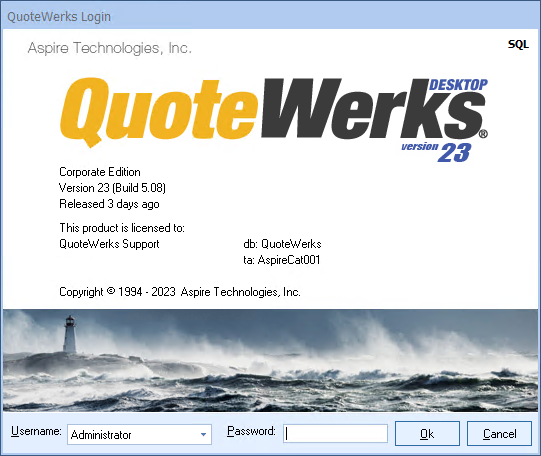
QuoteWerks requires that each user logs in with a Username and Password. These fields are NOT case sensitive.
The default Username is "Administrator" and there is no Password, so to log in for the first time, select "Administrator" from the Username drop-down box, leave the Password field blank, and click on the [Ok] button.
|
|---|

If a login fails because there are not enough licenses, this window will also open and if you have the security rights to revoke or terminate an existing instance, you will be able to free up a license so you can login. If attempting to login using a username that is already logged into QuoteWerks, you will be given the option to revoke the license from the other logged in instance so that you can log in.
For information about terminating running instances or revoking licenses, please see the Show Logged In Users topic.
Step 4: Review General Setup Considerations
Review the General Setup Considerations to help you make decisions on how to setup QuoteWerks to incorporate your existing data, including how to organize and structure vendor product databases, part number considerations, and pricing methods.
Step 5: Set Up Options
There are many options to set up in QuoteWerks that you will adjust throughout the setup and implementation process. There are some decisions you will want to make early in the setup process on certain options such as your quote numbering sequence and other core options. You can do this on the Installation tab of the Tools -> Options menu.
Step 6: Create Users
Create a list of usernames for everyone who’ll be using QuoteWerks (including yourself) by clicking the Utilities -> User Maintenance menu.
Important: You need Master Rights to access the Utilities -> User Maintenance menu, so make sure to log in to QuoteWerks with the "Administrator" username since, by default, that username has Master Rights. |
When you create your username, make sure to give yourself Master Rights. Once you’ve created your own username and assigned yourself Master Rights, we recommended assigning a password to the "Administrator" username. This is especially important because, by default, this username has Master Rights and no password.
Step 7: Set Up Your Contact Manager
Next, select the contact-management software you’ll be using with QuoteWerks. You can always change this by selecting the Contacts -> Setup Contact Manager menu from the QuoteWerks main toolbar.
Step 8: Set Up Your Product Databases
Set up product databases to store your products/services in. By default, a product database called Our Products is already set up for you to use. If you’d like to create more, click the Products -> Setup Product Sources menu. You should set up a separate product database for each vendor you purchase products/services from.
Step 9: Import, Enter, or Link Your Products
Load your product database(s) with products by either:
•setting up and using the Product Content Subscription and/or Real-time Module to receive immediate updates on product details and prices, respectively
•integrating with IT distributor products
•linking to an external product database through the Products -> Setup Product Sources menu
•linking to the product databases for contact managers Autotask, ConnectWise, or salesforce.com
•linking to the item lists for accounting-management products QuickBooks or Sage 50 (Peachtree)
•importing products through the Products -> Import Wizard menu
•entering products manually by clicking the Products -> Lookup menu, choosing a database to add products to, then clicking  to add new products it
Step 10: Display the Product Lookup Window and Customize Its Columns
Click Products > Lookup… to display the Product Lookup window. This is where all your products will be listed. Click the default Our Products database on the left, then click  to the left of the Sort by drop-down box to customize the columns’ appearance.
Step 11: Set Up Your Vendor List
Set up the list of the vendors you purchase from by clicking the Utilities -> Vendor Maintenance menu. Make sure the vendor names exactly match the names you’ve given the product databases you created for each vendor.
Step 12: Configure Custom Fields
When adding new products to a product database, decide if you want to use the custom fields located under the Custom tab of the New/Edit Product window. These are typically used to store information about your products that is unique to your business.
Step 13: Understand Manufacturer Part Number and Vendor Part Number
When adding products to your database, keep in mind that QuoteWerks uses the Mfg. Part # field to perform all the advanced product-related features like price refreshing, price comparisons, bundles, configurations, requirements, options, and substitutions. Make sure to put your part number in the Mfg. Part # field, even if you don’t typically use a manufacturer part number. You can enter the part number in both the Vendor Part # and Mfg. Part # fields.
Step 14: Set Up Your Sales Tax Preferences
Set up your sales tax preferences by clicking the Regional tab under the Tools -> Options menu. Here, select the country whose sales tax code scheme you want to use – either USA or Canada. After making that selection, you can specify the appropriate default tax rates under both this tab and the Documents tab.
Step 15: Set Up Default Cost and Price Modifier for Blank Line Items
Set up the default cost modifier and price modifier for blank line items added to quotes by clicking the Document Items tab under the Tools -> Options menu. The cost modifier is a discount percentage applied to the list price that determines your cost of product or service. The price modifier determines how a customer’s price for a product or service is calculated and can be a markup percentage, profit margin, or discount percentage.
Step 16: Set Up Default Introduction and Closing Text for Quotes
Set up the default introduction and closing text that will be printed on your quotes. Click Set Defaults under the Notes tab of the Quote Workbook, then enter in the default texts for the currently logged-in user.
Step 17: Customize Print Layouts for Quotes
Customize print layouts for your quotes by clicking the File -> Print/E-mail/Deliver menu, or click the Deliver icon on the main toolbar. Choose a print layout to customize, and click Edit.
Important: Some of the changes you may have made in the above steps might require you to exit and restart QuoteWerks for them to take effect. |
Now that you have setup QuoteWerks, see the interactive Quick Start Guide to start using QuoteWerks.