The combination of QuoteWerks and ACT! for Web makes it simpler to provide estimates and proposals to prospective customers, combine sales quotes with business development opportunities in the pipeline, create follow ups within ACT! for Web, and gain visibility into revenue streams from products and services.
For more information on the ACT! integration, please see:
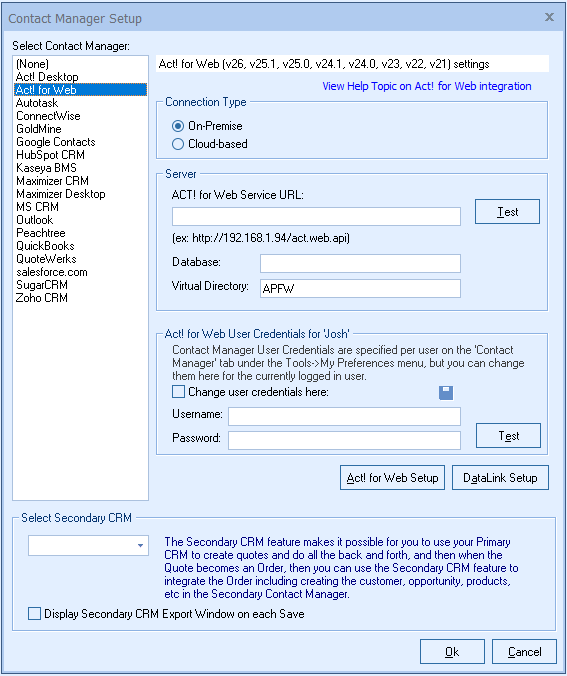
•Setting Up the ACT! for Web Integration
•Using the ACT! for Web Integration
Features available in ACT! Integration:
•QuoteWerks searches for your ACT! for Web Contacts
•Automatically create and update Sales Opportunities
•Write Line Items into ACT! for Web Opportunity
•Attach Additional Documents/Files to the Opportunity