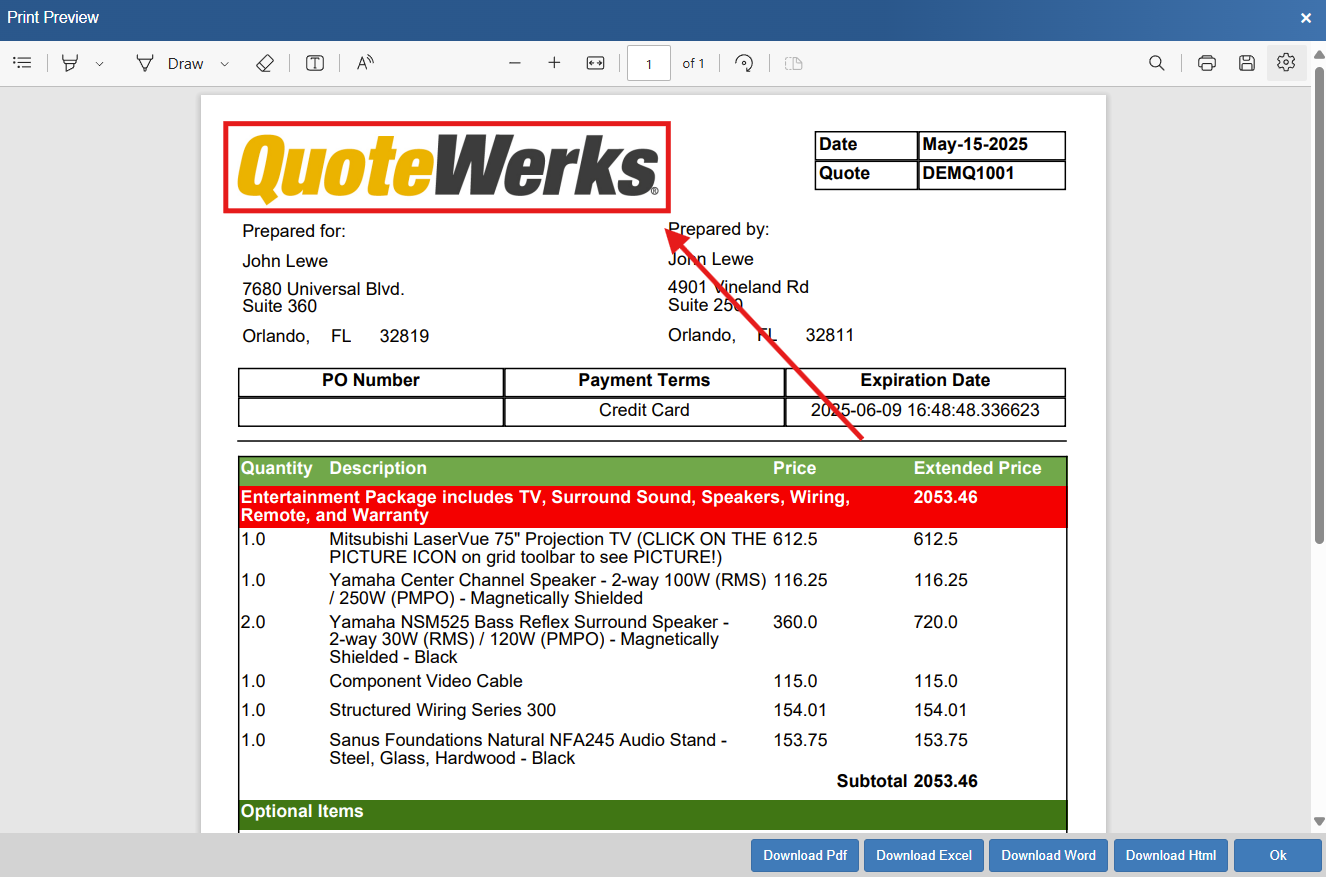
The Layout Manager comes preloaded with a number of sample layouts. This topic will review how you can quickly take an existing layout and update it with your coloring, iconography, and other customizations.
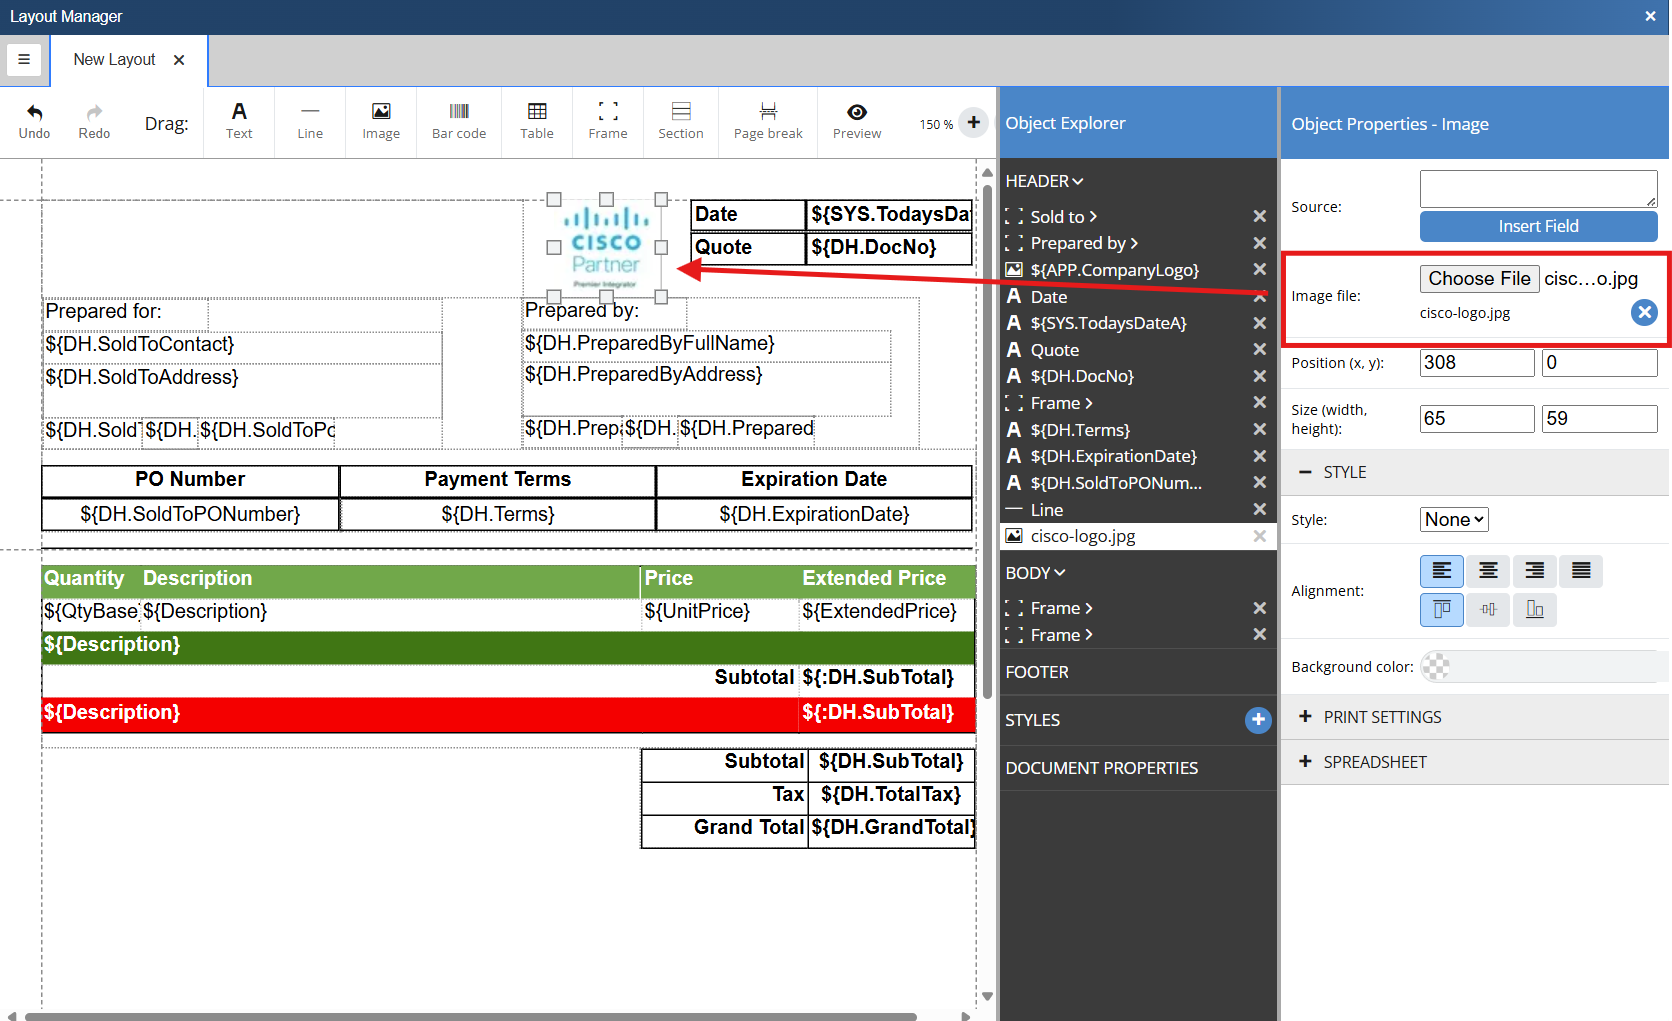
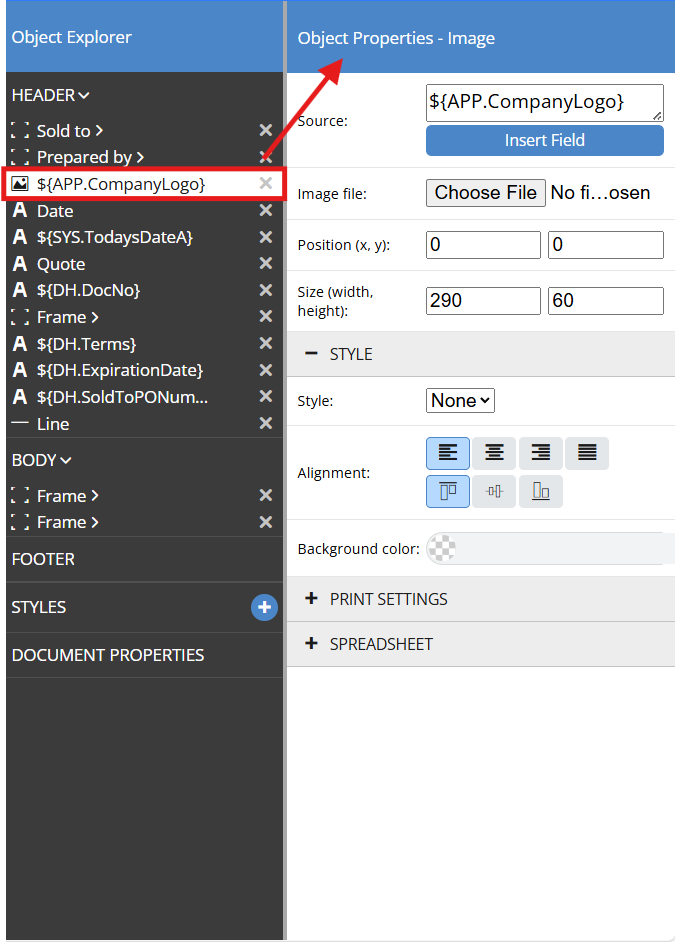
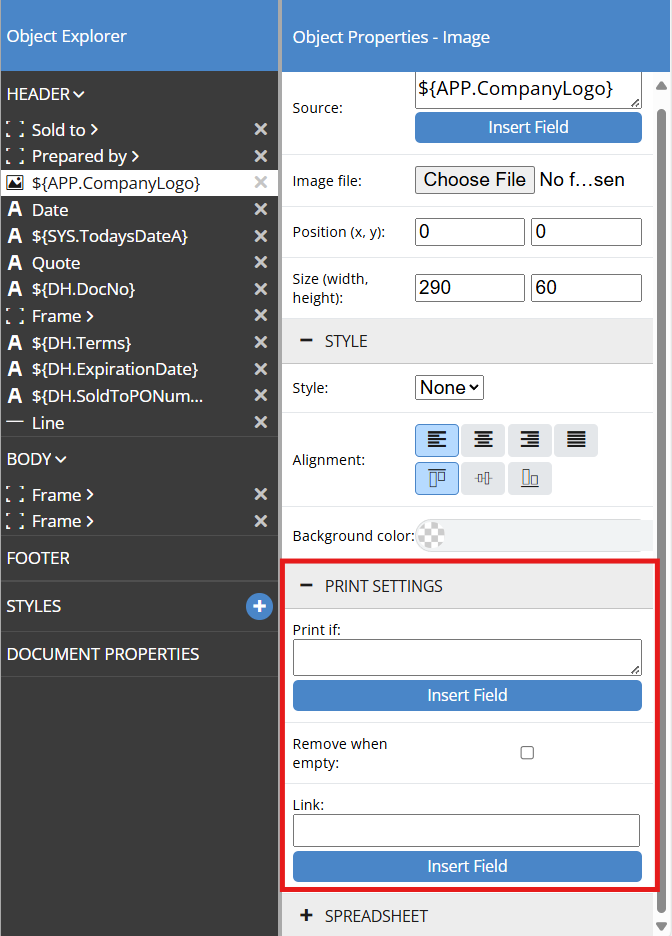
The logo on QuoteWerks sample layouts is inserted into the layout from a QuoteWerks Application table field. The expression used, by default is ${APP.CompanyLogo} and automatically inserts the Company Logo that has been loaded into the system from the Options -> Company page. This is the preferred method to insert a company logo, however a logo can also be added by inserting a picture object and selecting your logo file as seen below.
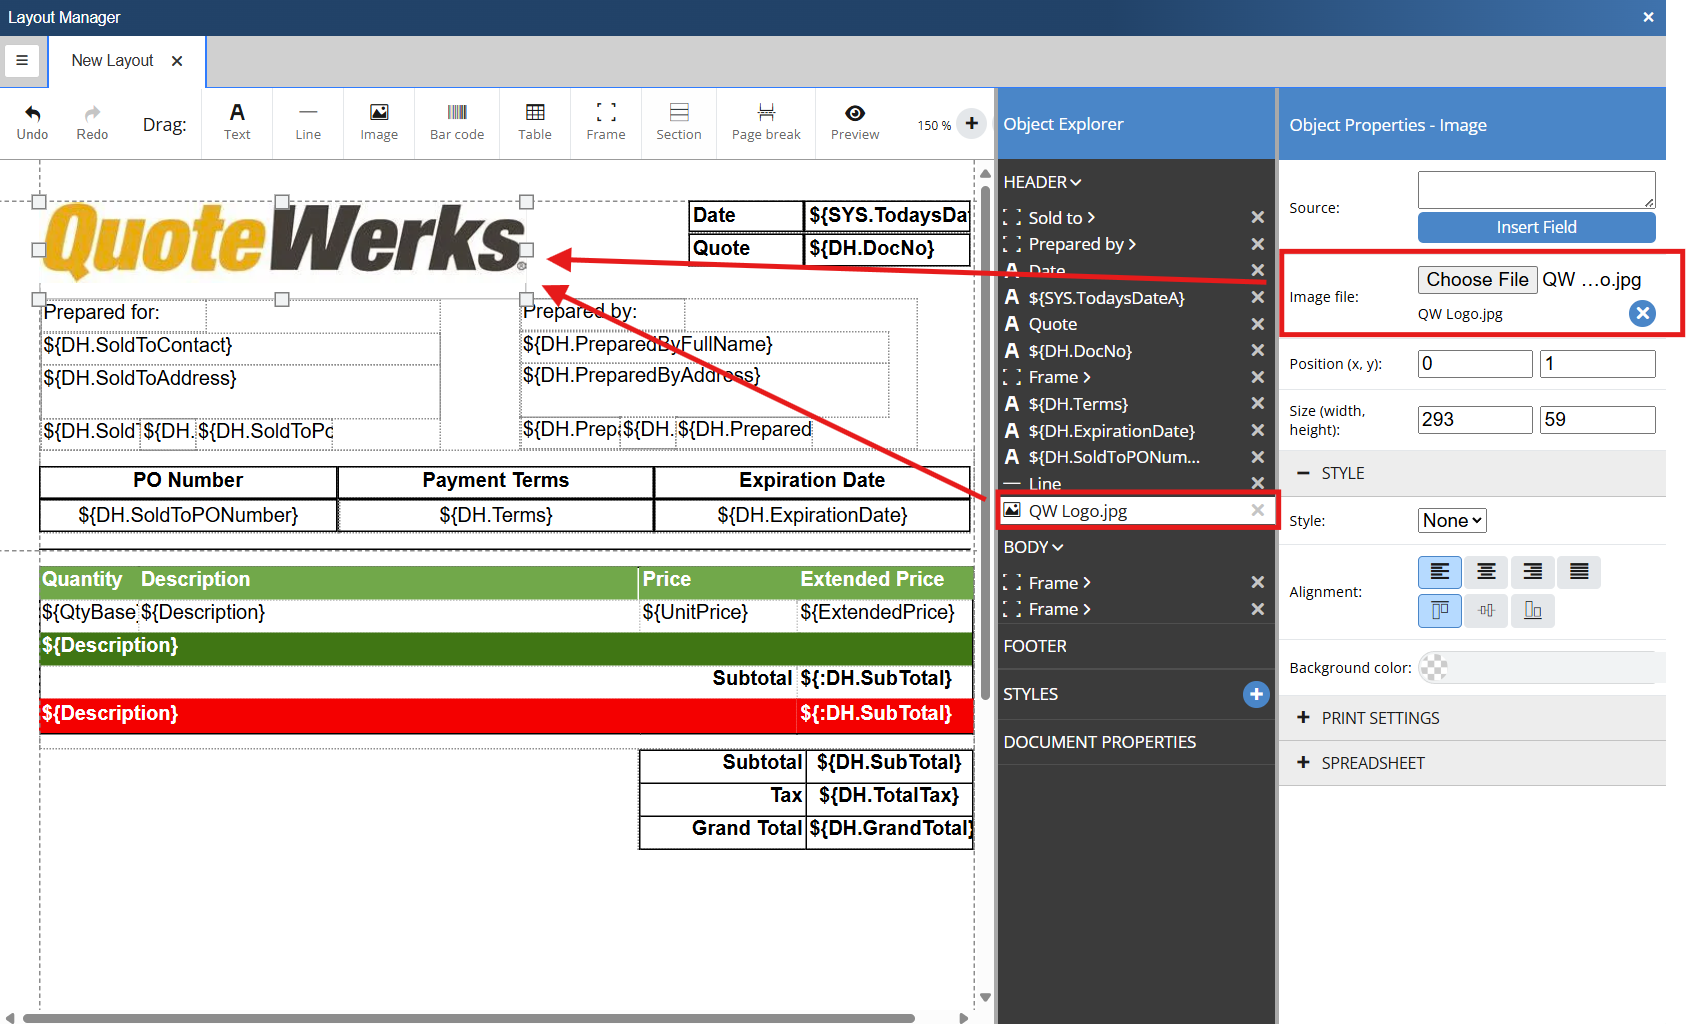
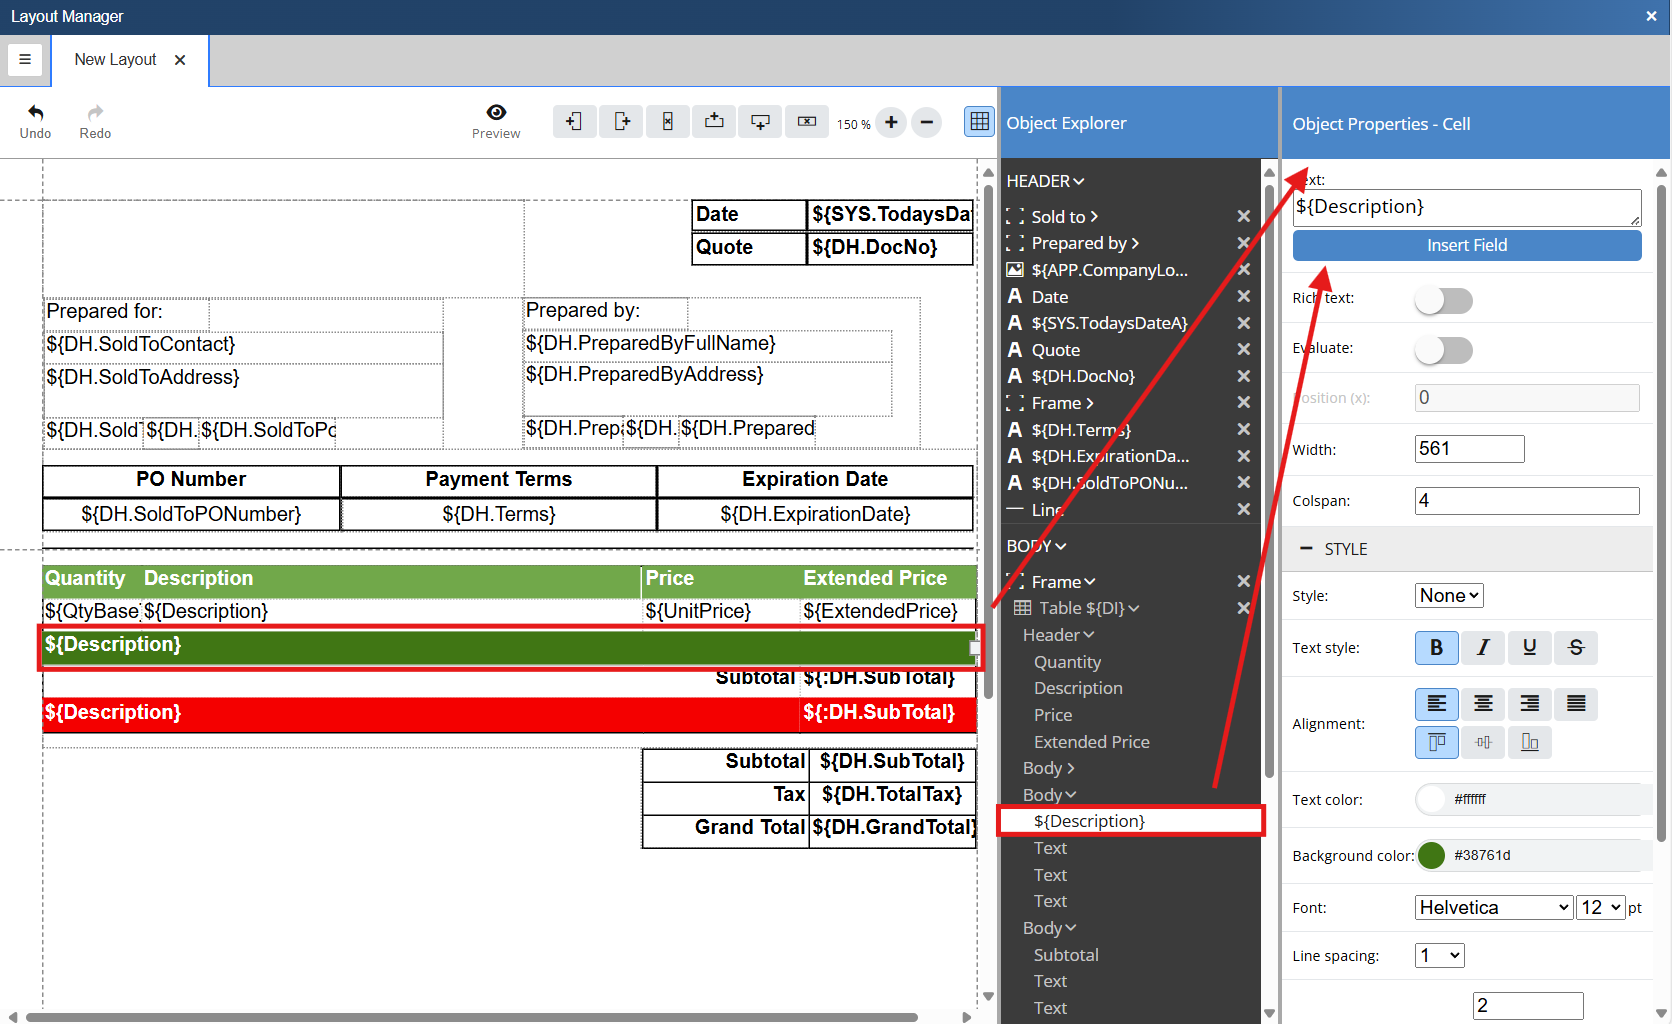
You may choose to add additional pictures or iconography to your quote. This can easily be done by dragging the Image icon onto the document.
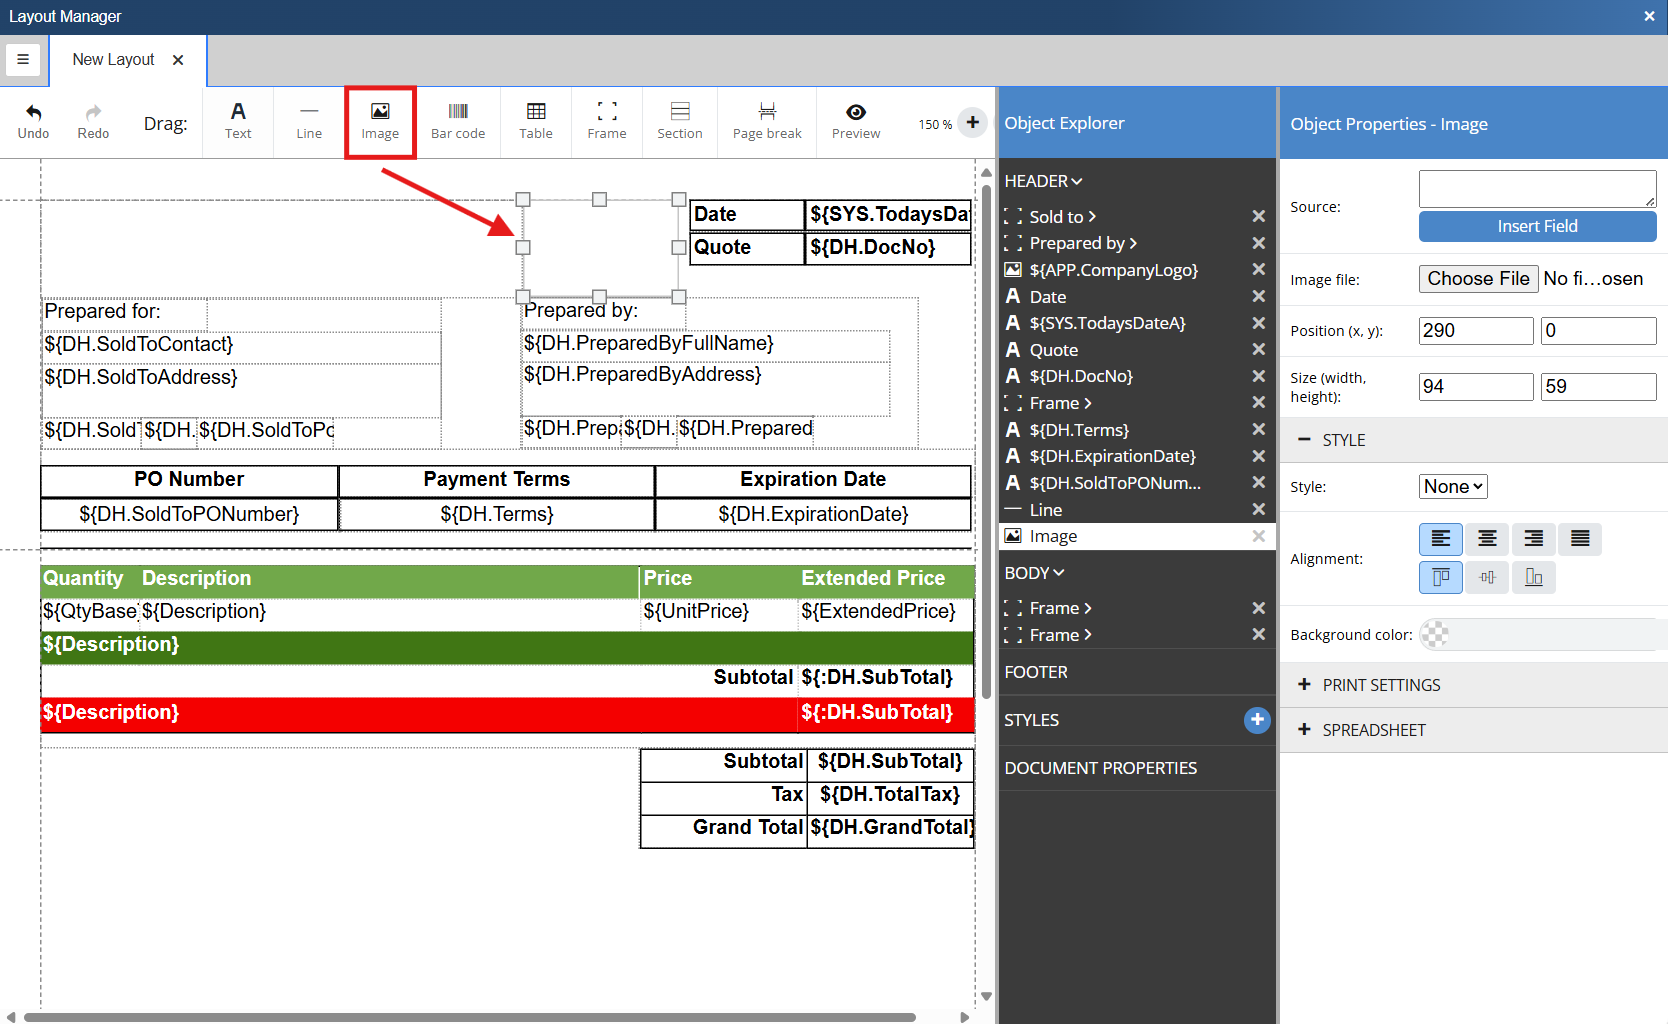
Once the image container is on the document and it is sized and positioned how you would like it simply click the choose file button to load a picture onto the layout.
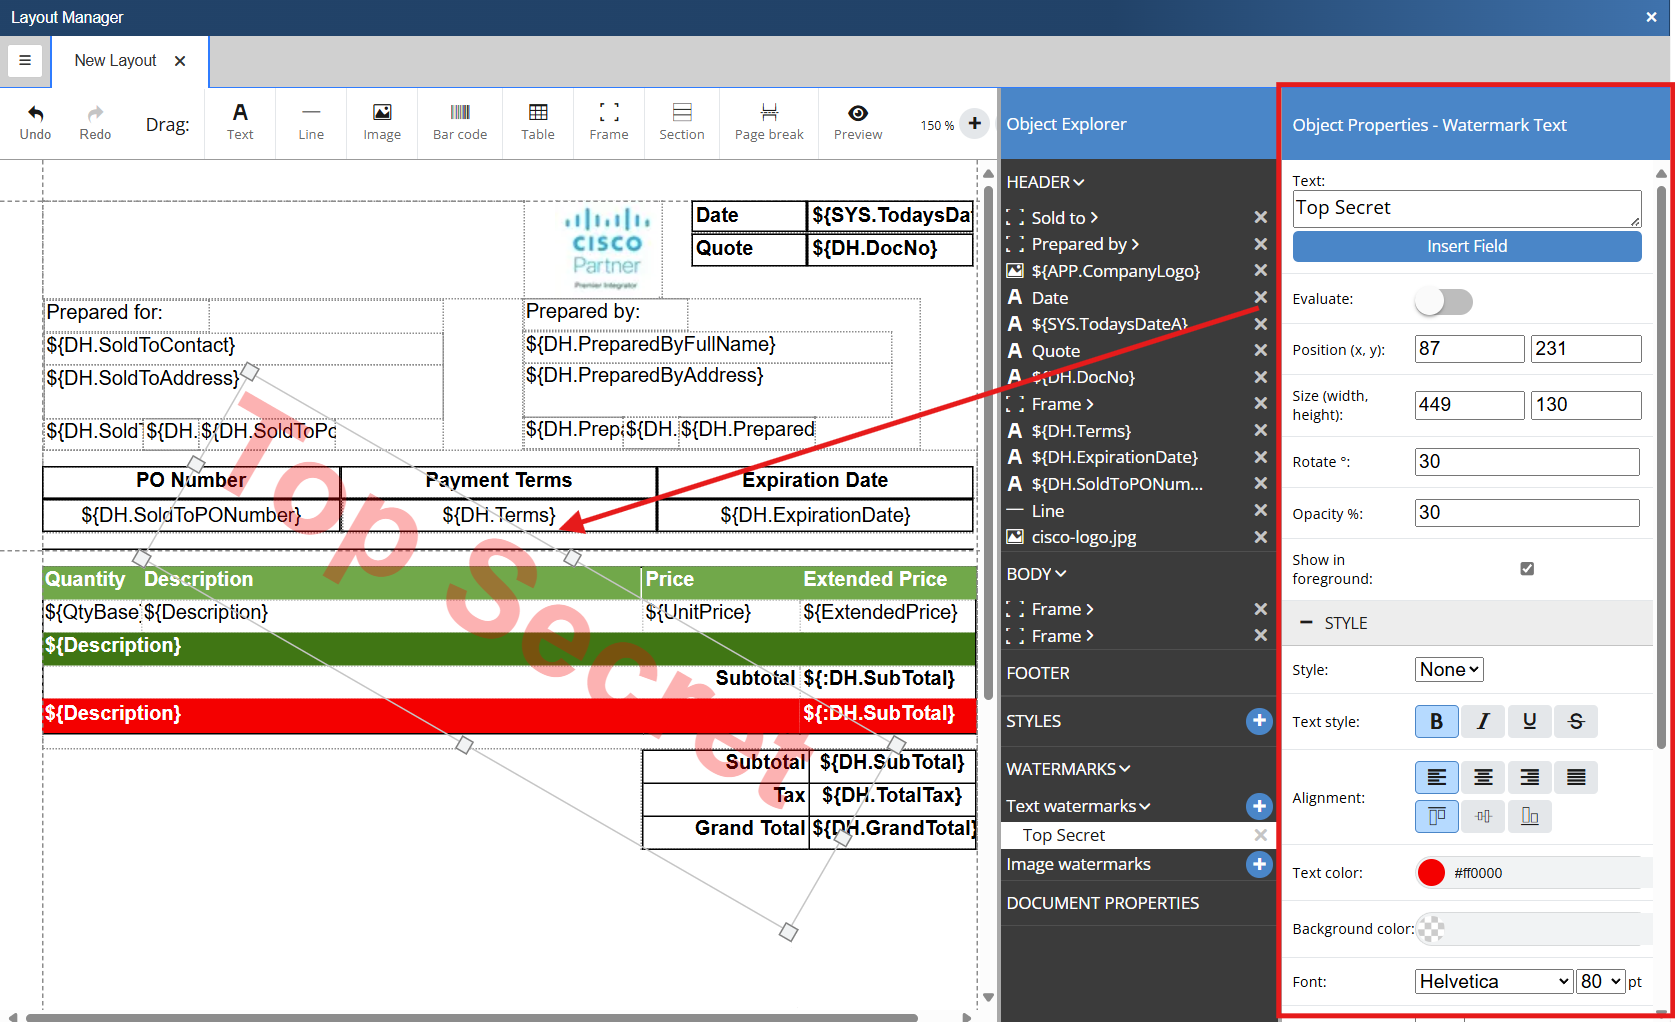
You can add a watermark to your document if you would like to do so. To do so navigate to the Object Explorer and click on Document Properties. To enable a watermark click on the water mark toggle. This will add a new entry in the object explorer named Watermarks.

Clicking on Watermarks will expand the section and display two options: Text Watermarks and Image Watermarks.

A Text Watermark gives you the ability to designate text and set formatting options for the watermark much like with a text box. To insert a text watermark, simply click the plus button next to Text Watermarks. This opens the Object Properties - Watermark Text side panel. Insert the text you would like to use as your watermark, format the text in whatever way you would like and the text watermark element will be added to the layout.
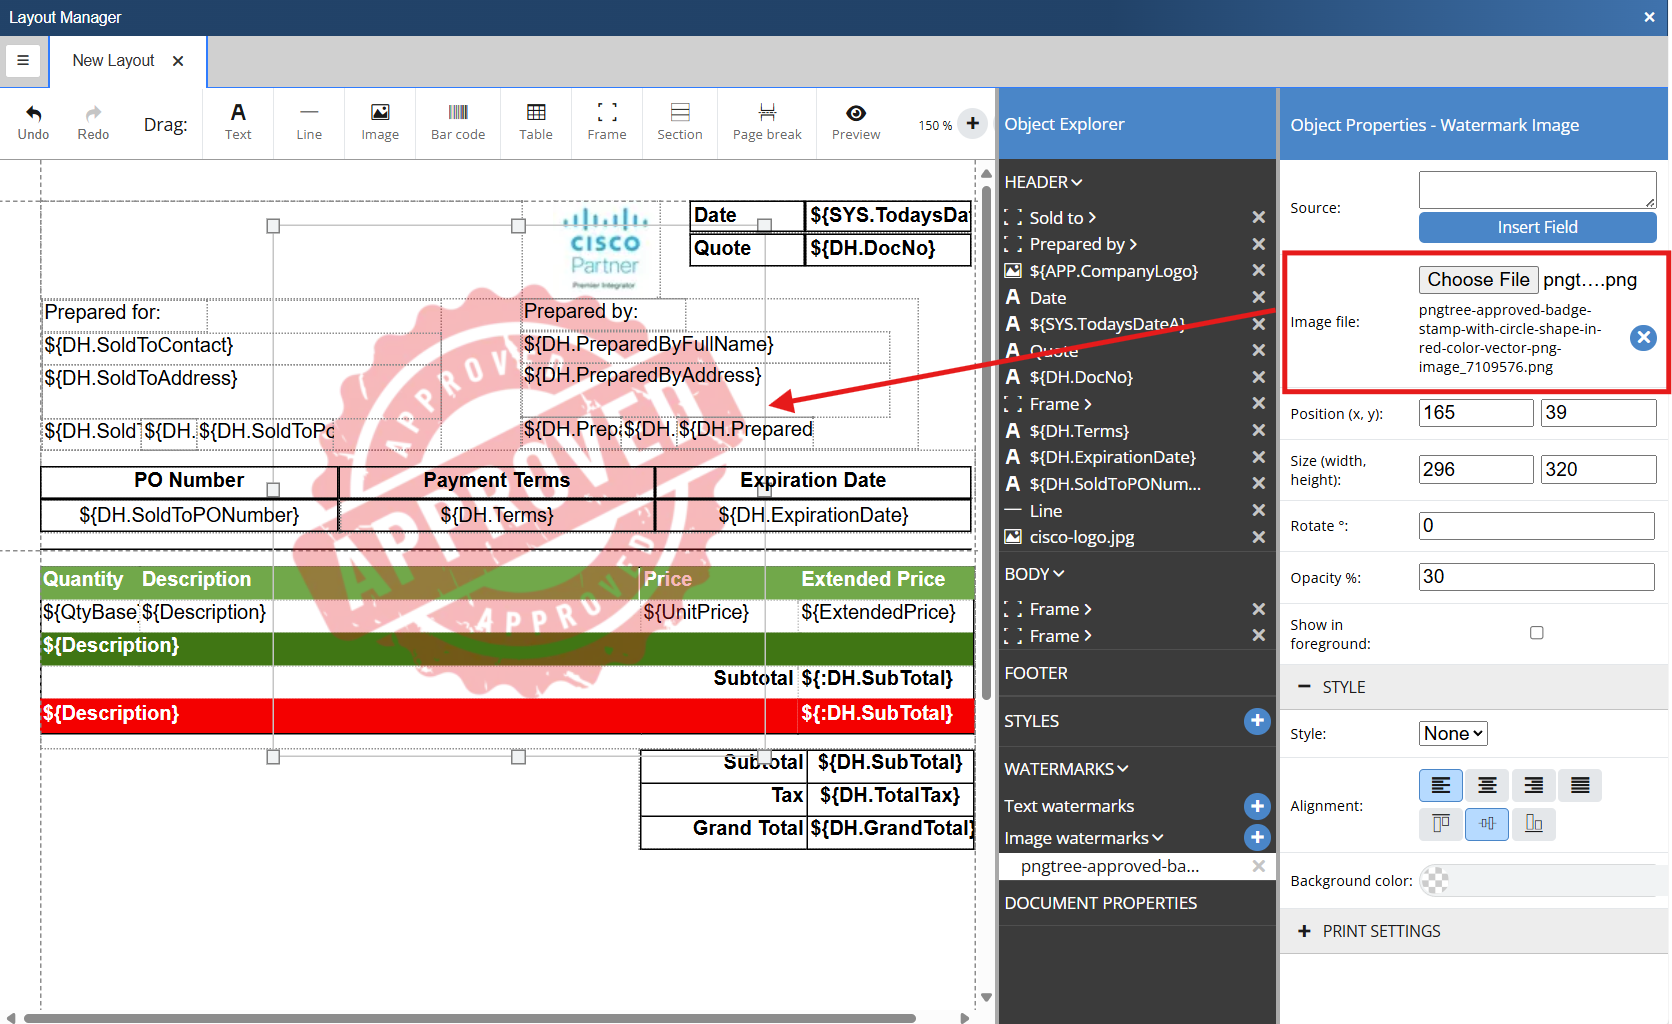
An Image watermark gives you the ability to designate an image and set formatting options for the watermark much like with an image object. To insert a text watermark, simply click the plus button next to Image Watermarks. Choose the file of the image you would like to use for your watermark and the image will be inserted into the document.
Hyperlinks can be added to text and image objects. You can assign a URL that the user will be directed to after clicking the link.
To add a hyper link, double click on an object or select a text or image object from the object explorer. This opens the object properties sidebar.
Expand Print Settings by clicking the plus sign. Place the URL you would like to link to in the Link field ensuring that it begins with either https:// or http://. The link will now be selectable and will navigate the user to the configured URL.
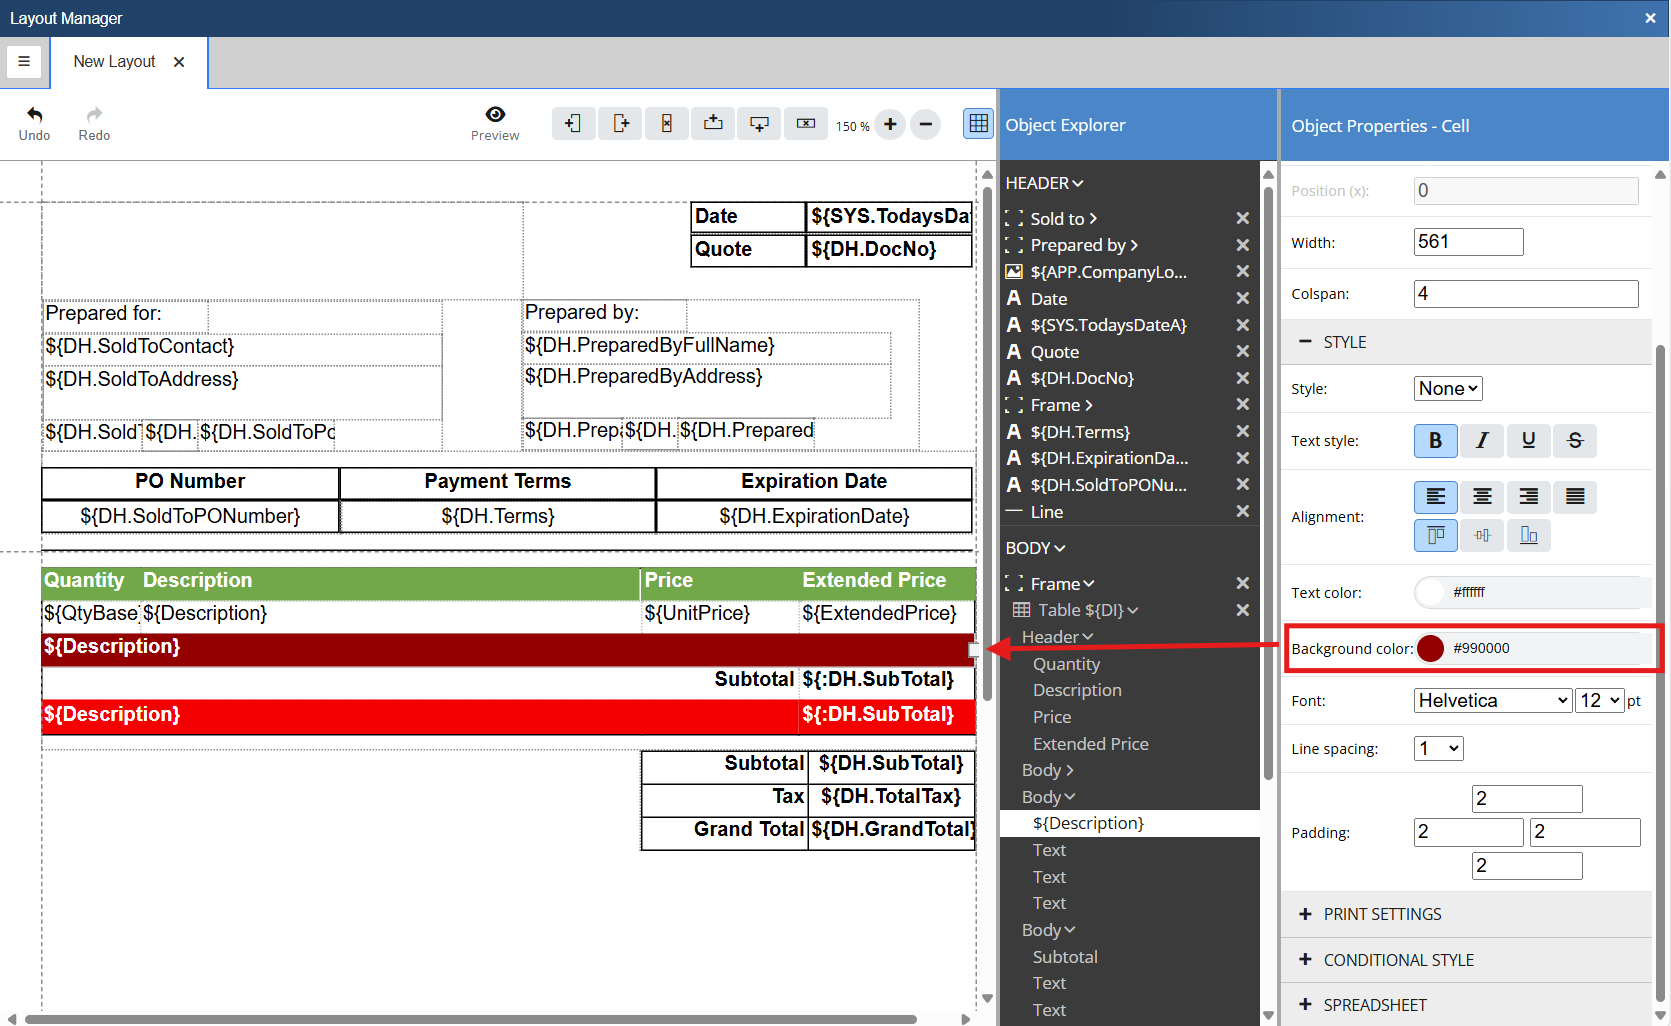
You can change the background color on Text, Image, and Frame objects. To do so select an object or multiple objects by holding down the Shift key. Alternatively you can select the object(s) from the object explorer. Both actions will open the Object Properties for the object(s).
To change the background color click on the Background Color field and select the color or input the color code for the color you would like to use.

The background color of the selected object will update based on your selections: