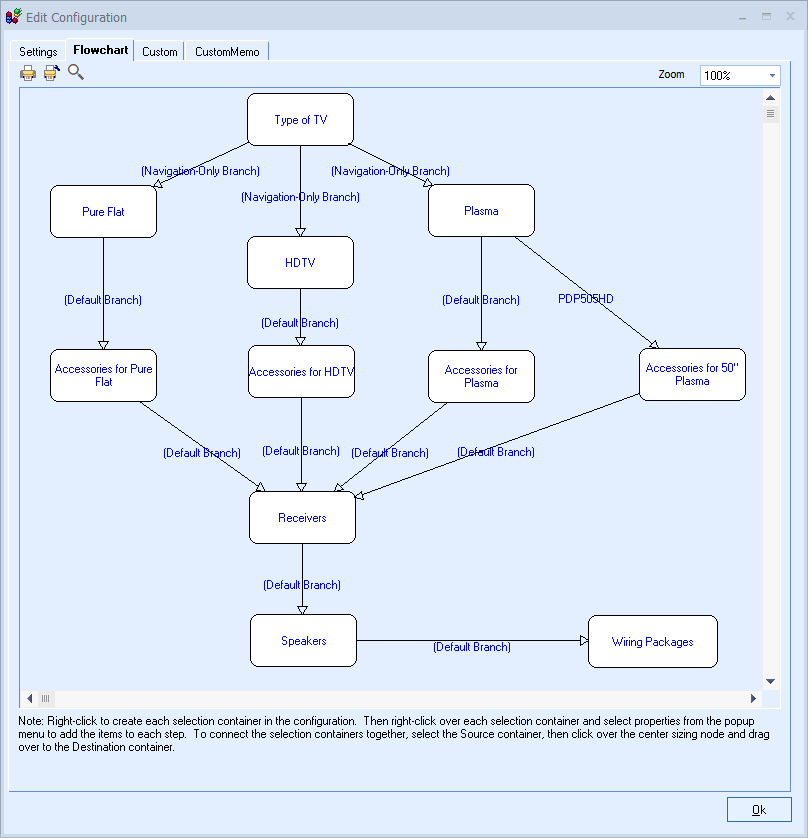
The Flowchart tab is where you will setup the steps of the configuration. You will create a selection container for each step in the configuration, then you will specify which products will be listed in the selection container, and then you will connect selection containers together to indicate the order that the steps will be presented in.
The Zoom drop down is useful when working with larger configurations, you can zoom to 50% and select the container you want to focus on and then change the zoom back to 100% and the container you selected will now be in the current viewable area.
You can print the configuration flowchart by clicking the Print  button, and you can adjust the margins of the printout with the
  button.
The Find  button will do a contains search of the Selection Container Names. When a match is found, it will ensure the node is visible, highlight it in yellow, and ask if you would like to find the next occurrence. You can also press CTRL + F to initiate the Find.
|
Creating Selection Containers
Right-click in the center of the Flowchart area to display the pop-up menu. Then, select ‘Create new Selection Container” from menu. In the next window, enter a name for this container:
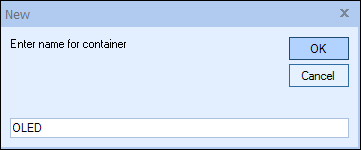
Repeat this procedure to create as many selection containers as you need. You can create all of your containers at once and then add products and/or bundles to them, or you can add products to each selection container as you create them.
|
Cloning a Selection Container
To make a copy of (or clone) a selection container, right-click over an existing selection container to display the pop-up menu. Then, select the Clone Selection Container from the menu. In the next window enter a name for this new cloned container:
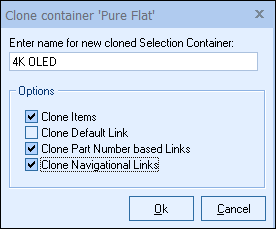
On the “Clone” window, you can choose options such as if you want to clone the items in the container or not, and if you want to clone various link types. Repeat this procedure to create as many selection containers as you need.
Editing a Selection Container
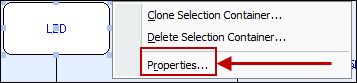
Right-click on a selection container and choose the Properties menu to edit the properties for the selection container:
|
|---|
The Edit Selection Container window has 2 tabs, Settings and Items.
Settings Tab
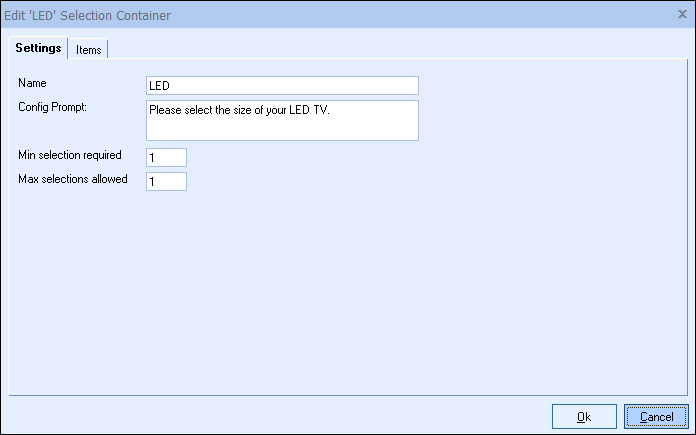
Name
This is the name of the selection container.
Config Prompt
The config prompt allows you to add some instructions or information to assist the sales rep in making their selection from this selection container. The config prompt will display when the items in the selection container are being displayed in the Administrator.
Min selection required
The Min selection allows you to control the minimum number of items selected from this container.
Max selection allowed
The Max selection allows you to control the maximum number of items selected from this container.
Items Tab
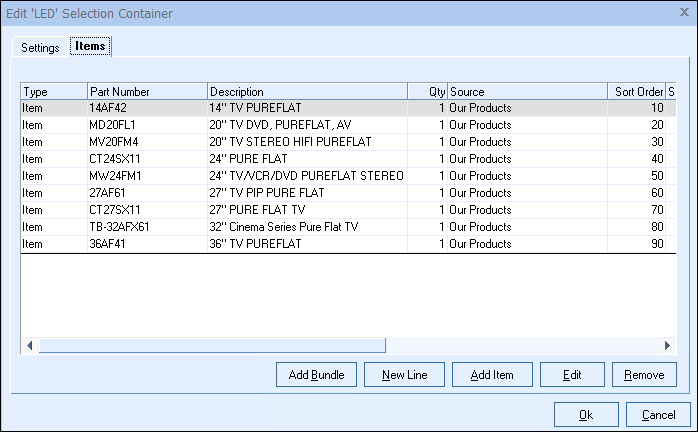
The Items tab displays a list of the products and bundles that are included in this selection container and allows you to add, edit or delete items and bundles from a selection container.
|
|
Adding Items from Etilize
Items from Etilize can be used in the Configurator by searching for the items in Etilize or selecting them from the "My Favorites" folder underneath the Etilize Search. When adding items to a configuration from Etilize, it is important to select the vendor first before adding the item to the configuration. If the vendor is not selected, QuoteWerks will automatically use the first vendor available for that item when it's added to the configuration. Additionally, the Real-time pricing and availability will be updated for the item when it is added to the document.
Adding a Bundle
From this tab you can add bundles to the selection container. Click on the [Add Bundle] button, the “Edit Selection Container Item” window will appear:
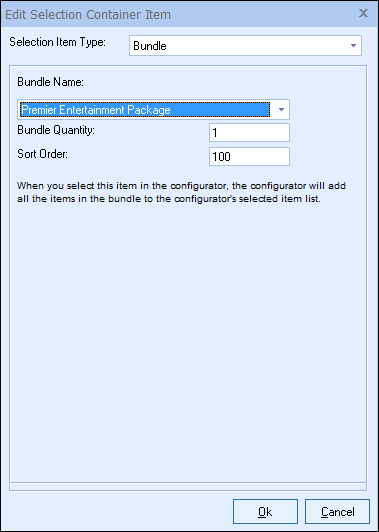
From here, you can choose the Bundle Name from the drop-down list that you would like to associate with this selection container. Once you have selected the bundle, specify the quantity and sort order click on the [Ok] button to add it to the selection container.
|
Adding, Editing, and Removing an Item
From this tab you can add items to the selection container. Click on the [Add Item] button, the Product Lookup menu will automatically appear. From there, you can search for the products associated with this selection container. Once you have found the product(s) you are looking for, select them, and click on the [Select] button from the Product Lookup window to add it to the selection container.
|
To edit a product in the selection container, select the item and click on the edit button. The “Edit Selection Container Item” window will appear:
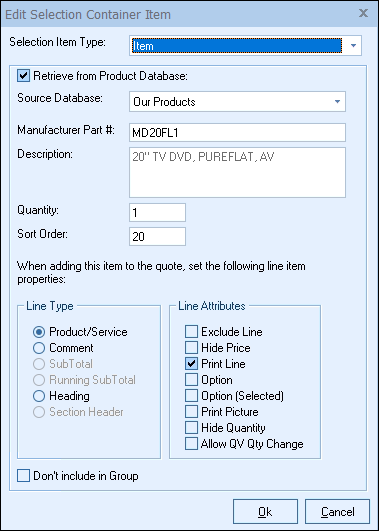
Selection Item Type
The Selection Item Type drop-down will let users toggle between using the selection as an item or switching to a previously created Bundle. By switching to a Bundle, you can choose to insert an existing Bundle at at this point in the configuration process.
Retrieve from Product Database Checkbox
The Retrieve Product Database Checkbox will enable you to convert an item from a Product/Service type item to a Comment or Heading line instead if the item is being added to a Grouped Configuration. The advantage of this feature is that it will enable you to use the already available description of the item selected or customize it with a new description for the Configuration.
If the item is being added to a simple configuration, the other options will be available (Subtotal, Running Subtotal, Section Header) in addition to the Comment and Heading options.
Source Database
The ‘Source Database’ will pre-fill with the vendor information from which the item was originally selected. You can change the Source Database by clicking on the drop down menu and selecting another vendor source database.
The “Manufacturer Part #” is the part number of the selected item. The “Description” is retrieved from the part number definition in the product database. The Quantity field allows you to set a quantity other than the default quantity of 1. The sort code allows you to define the order in which the selection container items appear when they are added to your quote.
The Line Type and Line Attributes settings allow you to further specify the properties of the item when it is added to the quote. See Working with Document Items for details on line types.
The “Don’t include in Group” option gives you the capability to do two different things. First, through the Configurator, the last items you choose can be formula based line items that are added below the group as regular line items not actually in the group. The benefit here is that you can add, for example, a formula based line item that is 20% of the group header amount. Alternatively, at the end of the Configuration you can create 1 or more selection containers and populate it with items that will not be included in the group. They will be added below the group. The real benefit here is that you can build a configuration that is grouped and then easily choose from a specific list of other products to add after the group. Without this you would have to go search the entire product database manually looking for other items to add. With this feature, you can just choose from the items previously setup in the selection container.
|
|
To remove a product or bundle from a selection container, select the item or bundle to be removed and click on the [Remove] button.
Connecting Selection Containers
Now that you have created the selection containers, you will need to connect them together to indicate the order in which they will be presented.
In the center of each selection container is a link creation handle which appears when you left click on the selection container. It is the black small square box in the middle of the selection container. When clicked and dragged to another selection container, it creates the link between the containers.
To connect the selection containers, left-click on the container to activate the link creation handle and the re-sizing handles. Then, click on the link creation handle and hold the mouse button down while you drag the mouse over to the container that you want to connect this container to. Then, release the mouse, and a “Create selection-based branch” window will be displayed.
|
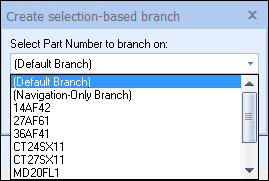
There are 3 types of branches available:
Default Branch
Use this branch type to branch to the selected container no matter what item was selected in the container.
Navigation-Only Branch
Use this branch type to branch from the selection container without actually using an item from the selection container. For example, this can be used to give the user a choice between item A and item B or OTHER. If OTHER is chosen, the user will be branched to another selection container without having selected an item from this selection container.
Based Part Number
Use this branch type to branch to the container if a specific part number was chosen from the selection container. For example, if the user chose item A, it could branch to 1 selection container, and if the user chose item B, it could branch to another selection container.
Deleting a Selection Container or Branch
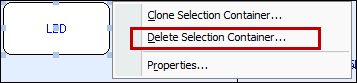
To delete a selection container, right click on the selection container that you would like to delete and select Delete Selection Container:
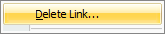
To delete a branch, right click on the branch that you would like to delete and select Delete Link: