After you have set ConnectWise as your Secondary CRM and selected your other CRM from the list under Contacts-> Setup Contact Manager you can begin using another CRM for contacts and have ConnectWise manage your opportunities, tickets, etc.
|
Step 1: Select your contact on the Sold to / Ship to tab and pull them into QuoteWerks.
Step 2: Start creating your quote or proposal in QuoteWerks and add all of your products and services to the QuoteWerks document.
Step 3: Save the document in QuoteWerks. This will prompt you to save it to your other CRM (not ConnectWise).
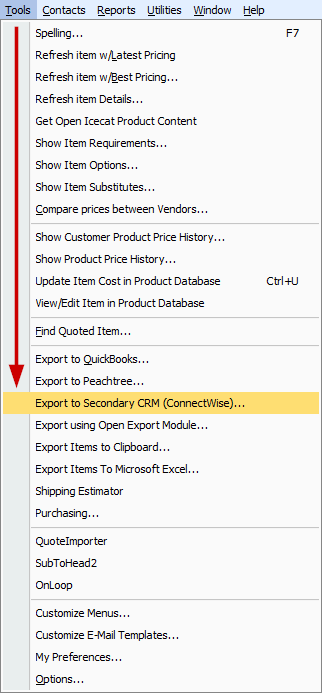
Step 4: Once you have saved the document and you are ready to send the information over to ConnectWise, click on Tools-> Export to ConnectWise:
Step 5: An “Export Document to ConnectWise” dialog box will open.:
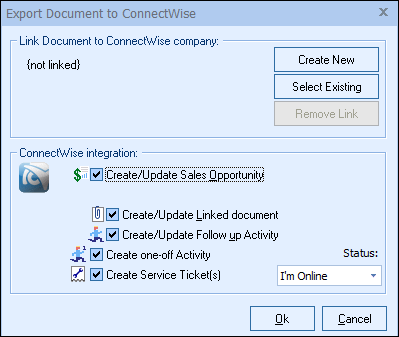
First, select the ConnectWise Company you need to link this document to by clicking on the “Select Existing”. If the company does not exist, click on “Create New” and QuoteWerks will create the new Company for you.
Step 6: Once you have linked the document to the correct company, you can select whether or not to Create/Update the Sales Opportunity, Create/Update the Linked Document, Create/Update a Follow Up Activity, Create a One-off Activity, and/or Create Service Tickets (see Writing Information Back to ConnectWise for more information). Click on “OK” to launch the various selections.
|
|---|
Step 7: The information has now been sent to ConnectWise and can be handled by ConnectWise moving forward.