Since a comma-delimited text file does not contain information identifying each column's data type, like Text or Number, this information needs to be specified so that QuoteWerks can use the file as a database. To do this, you will need to create a file called 'schema.ini' and save it into the same folder as the comma-delimited text file. This schema.ini file will contain the information required to define the database field type for each column in the text file.
Here is an example of a schema.ini file:
[QWMultiCurrencyPricefile.csv]
Format=CSVDelimited
ColNameHeader=True
Col1="Current Part No" Text
Col2="Old Part No" Text
Col3=Description Text
Col4=UoM Text
Col5=Category Text
Col6=Manufacturer Text
Col7="US Cost" Currency
Col8="EU Cost" Currency
Col9="UK Cost" Currency
Col10="USD List" Currency
Col11="EU List" Currency
Col12="UK List" Currency
The first line is the name of the comma-delimited file contained in brackets. The second line identifies the file type and the third line ‘ColNameHeader=True’ states whether the first line of the file contains column headings. The rest are the references to the individual fields and their data type. For each field reference, you need to list the column number followed by the name of the field (if the field name contains spaces, you'll need to enclose it in double quotes) followed by a single space, and then the data type format (Text, Currency, Memo, Date, DateTime, Double, Long). You will need to create a line for every column/field in the text file. If you do not, then QuoteWerks will not see those columns.
Now, you can continue with the steps below to link to this comma-delimited text file.
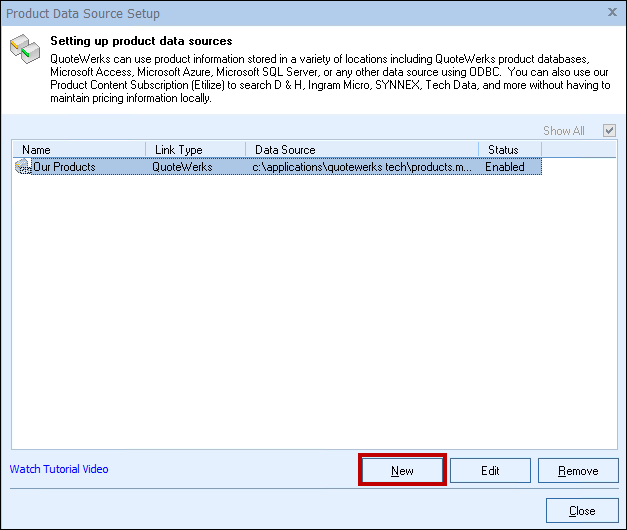
Step 1: Go to the Products -> Setup Product Sources menu, then select the [New] button on the Product Data Source Setup window:
Step 2: From the “Select Database Type” window select the type of database from the drop down menu that you would like to link to. In this example, we will select ODBC as the Database Type.

The wizard steps will differ based on the Database Type that you select. Then, click on the [Next] button to move to the next step.
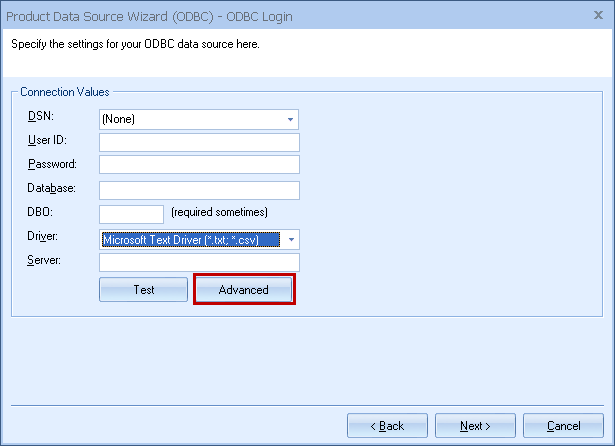
Step 3: Select "Microsoft Text Driver (*.txt, *.csv) for the Driver field, then click on the [Advanced] button:
Step 4: Select Dbq for the Argument and then in the Value field, enter the folder that your comma-delimited text file is located in:
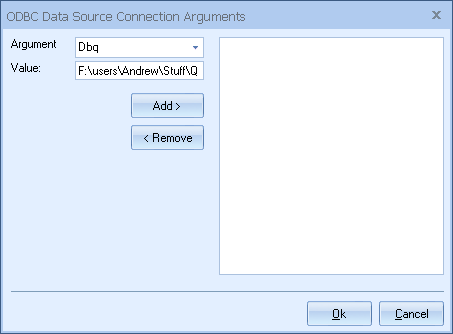
Click on the [Add] button and the folder path will appear in the list on the right. Click [Ok] when finished.
Step 5: Click [Next] and then on the following window, select the comma-delimited file you want to use (typically comma-delimited files end in a .csv or .txt file extension).
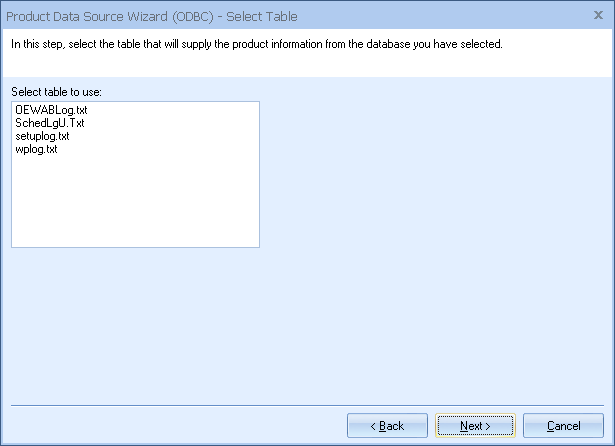
Click [Next] again.
Step 6: This window allows you to map the fields in your data source to their QuoteWerks counterpart.
|
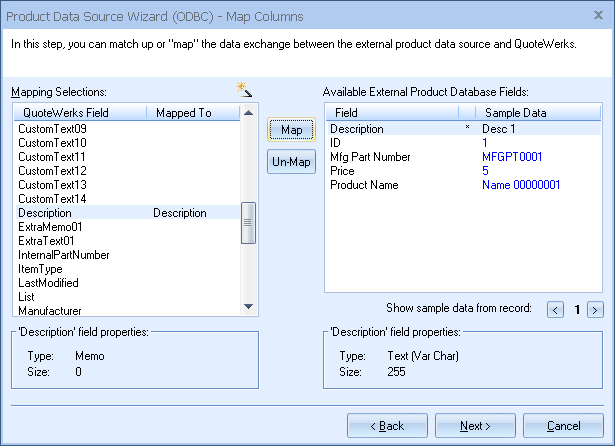
Click on the [Next] button to move to the next step.
Step 7: On this window you will provide the name of the data source, which is typically the name of the Vendor whose products you are storing in the file.
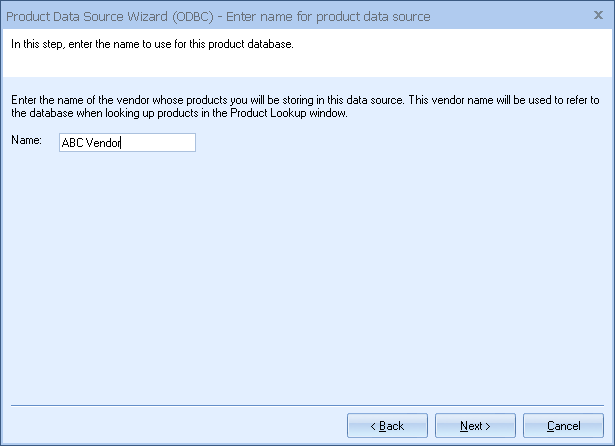
Click [Next] when finished.
Step 8: On this window you can “Set Column Titles.” Column titles are the names of the columns as they will appear in the Product Lookup window for this product source.
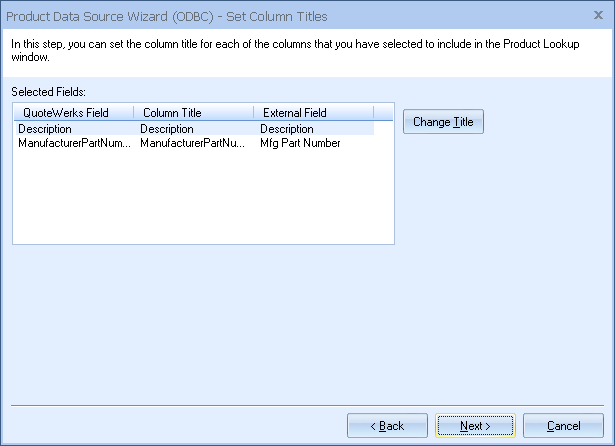
For example, in QuoteWerks the field name is called ‘Price,’ in the product data source, the field could be called ‘DefaultPrice.’ You may want to refer to this as ‘Unit Price.’ By clicking on the [Change Title] button you can rename the column title.
Click on the [Next] button to move to the next step.
Step 9: If the ‘Individual Product Data Source level security’ has been enabled, the Security step will appear next:
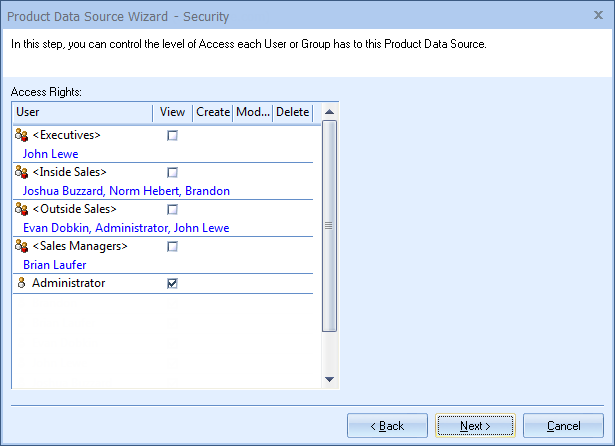
Here you can control the level of access each User or Group has to this Product Data Source. For details, see User Maintenance and Security.
Step 10: Here you can choose various options for the product database.
Product Lookup Custom Menu Items
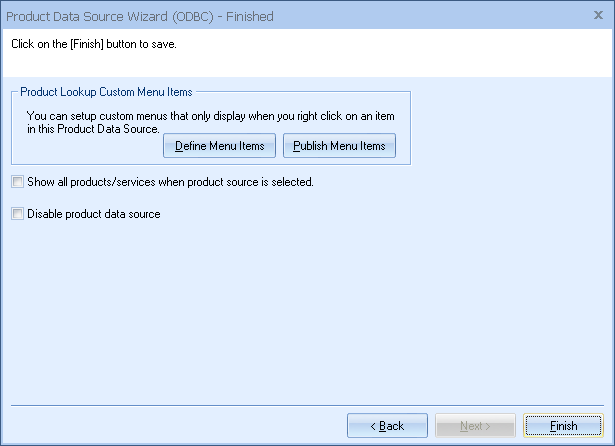
You can create custom right-click menu items specifically for this Product Data Source. Please see Customizing Product Fields, Contact Fields, and Menus.
Show all products/services when product source is selected
Choose this option to display all of the products and services in the database when you select this product database from the Product Lookup window. If you have more than 5,000 items in your product database, it is recommended that you do not select this option.
Click on the [Finish] to complete the link to the external Product Data Source.