Adding Your Company Logo to a Layout
To add your company logo (or any other picture file) to a header or footer section of the print layout, select the Insert -> Picture menu and choose the appropriate picture file. After you select your company logo, the layout designer will go into positioning mode, which allows you to select the location on the print layout where you would like to place your company logo by clicking over the location. Most often, you will want to place your company logo in the Report Header section.
|
To remove the image from the layout, right-click on it and select Delete.
Adding Label Text to a Layout
To add text to the layout, select the Insert -> Label menu, and then place the label on the layout. To edit the text inside a label, either right click on the label and select Edit Text or just double click on the label:
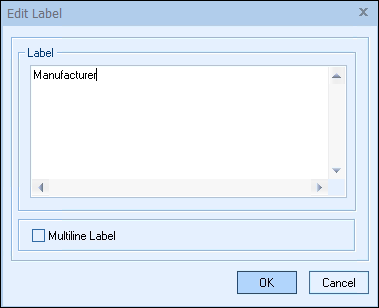
If you want the label to contain multiple lines of text, make sure you check the “Multiline Label” checkbox before you begin typing. When you are finished entering in the text, click on the OK button to save.
Labels have many uses. As an example, you may want a column header for the Manufacturer field column. To do so, add a label to the Page Header section, placing it above the Manufacturer field in the Detail Section. Once it is placed, double click on the label and type in the appropriate descriptive text (such as “Manufacturer” or “MFG”). To remove the label from the layout, select it, then right-click on it and select Delete.
Adding Database Fields to a Layout
Select the Insert -> Data field menu to display the Insert Data Field window:
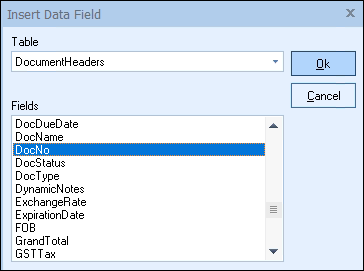
This window will let you choose a field from the available tables. Fields for the Sold To Company, Terms, Ship Via, etc. will be in the DocumentHeaders table. Fields for the line item details like Quantity, Description, Unit Price, Extended Price, etc. will be in the DocumentItems table. The Applications table stores all licensee information, such as LicenseeAddress, LicenseeEmail, and LicenseeCompany, which is useful when adding your company information.
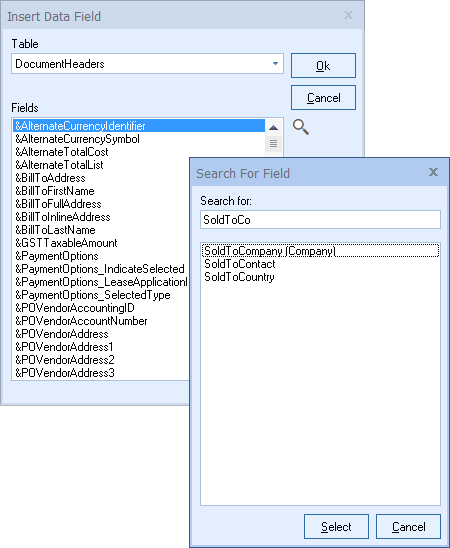
You can use the Search  button to quickly narrow the list to specific fields you are looking for.
After you select the field to insert and click on the [Ok] button, the layout designer will change the mouse pointer to a pointer with an outlined box. Using this pointer, click on the area of the print layout that you want to place this field. Typically you will place DocumentHeader fields in a Header or Footer section. DocumentItems fields will typically be placed in a Detail section.
|
To change the font, format, or other properties of the field you just inserted, right-click on the field, and select the appropriate option from the menu that is displayed.
|
Resizing and Moving Fields on a Layout
To change the size of a field, click on it, and you will see resizing blocks at the top, bottom, left, and right sides of the field. Move your mouse over a resizing block, click and hold the left mouse button and drag in the direction to increase the size. Release the mouse button when the field is the size you need it to be. Alternatively, once you have clicked on the field, you can hold down the SHIFT key and use the arrow keys UP/DOWN/LEFT/RIGHT to resize the field.
To move a field, click on the field with the left mouse button, and while holding the button down, drag the field to the new location, and then release the mouse button. Alternatively, once you have clicked on the field, you can use the arrow keys UP/DOWN/LEFT/RIGHT to move the field.
Including Pictures of Items in the Quote
You can associate a picture with each product/service in your native product database. You can also choose to print the picture of the product with the line item when a quote or report is printed. See Setting Up Native Products and Services for details on this feature. In order for the picture to appear, you must insert the picture field into the print layout. If the picture field is not inserted into the print layout, then the picture will not be included.
To add the picture field, click on the Insert -> Data Field menu, select the DocumentItems table and then select &Picture. Since this picture field is associated with each line item you will need to insert it into a Detail Section in order for it to work correctly.
After you have inserted the &Picture field into the layout, you can format it by right clicking and selecting Format.
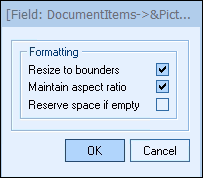
The format window for the &Picture field has several options:
Resize to bounders
When inserting the &Picture field into the print layout, you will notice that the &Picture field object has a default height and width. Also, you will notice that at each corner of the objects there is an L-shaped corner. We call this L-shaped corner a “bounder”. Bounders show us where the object begins and ends and therefore lets us easily see the size of the object.
When the “Resize to bounders” checkbox is checked, the picture will be resized (enlarged or reduced) so that it will fit inside the height and width of the object. If the “Resize to bounders” checkbox is not checked, when printing, the picture object height and width will automatically be resized to whatever size the actual picture is. This will result in each picture for each line item being a potentially different size.
Maintain aspect ratio
The “Maintain aspect ratio” checkbox works in conjunction with the “Resize to bounders” checkbox, and is only available when the “Resize to bounders” checkbox is checked. When a picture is resized, it is “stretched” both vertically and horizontally until the entire height and width of the picture object has been filled. This will result in the distortion of the relative height and width of the picture. To preserve the relative height and width of the picture, you will want to check the “Maintain aspect ratio” checkbox. In most all cases, you will always want to check the “Maintain aspect ratio” checkbox.
Reserve space if empty
When designing a print layout to include the &Picture field, you need to keep in mind that not every line item that is in the quote will contain a picture. If that happens, by default, there will simply be a big empty space between each line item where the picture would have printed if there was a picture for that line item. To address this concern, you can do the following: If you insert the &Picture field toward the bottom of a Detail Section so that no other objects are below it, you can then double click on the Detail Section header and check the “Compress Space After Last Item” checkbox. This will “compress” or remove the blank space at the bottom of this Detail Section. If the “Reserve space if empty” checkbox is checked, this blank space will not be “compressed” or removed even if the section level “Compress Space After Last Item” is checked.
Adding Contact-Manager Fields to the Layout (Not Available in Reports)
You can insert fields from your Contact Manager database onto your print layouts. This feature works with ACT!, GoldMine, MS CRM, Saleslogix, Maximizer, Outlook, salesforce.com and the QuoteWerks Native Contact Database. Select the Insert -> Database field menu to display the Insert Field window. On this window, choose ContactMgr from the table drop-down list. Under the fields drop-down will be a list of all the fields that QuoteWerks can retrieve from your contact manager, and place into the print layout. If there is a contact manager field that you want to use that is not listed in the list, simply type it in. You can get creative with the use of these contact manager fields. For example, in GoldMine, you can use the Profile.CreditCard macro to retrieve the credit card number listed in the “CreditCard” profile under the Profile/Detail tab for the contact in GoldMine. If you have other profiles under the Profile/Detail tab in GoldMine, you can very easily pull information from it.
To change the font, format, or other properties of the field you just inserted, right-click on the field, and select the appropriate option from the menu that is displayed.
When you print the print layout, QuoteWerks will retrieve the information from the contact manager fields and place it into the print layout.
|
Adding Line Objects to a Layout
Select the Insert -> Line menu option, and place the line on the layout. Once the line object is on the print layout, you can right-click on it, and choose the Format menu item to format the line. There are several options that can be set for the line, including orientation of the line (vertical, horizontal, diagonal, or spanning vertical), thickness, etc. Note, when thicker lines are drawn, the ends of the line will be rounded.
Spanning Vertical Lines, when used in detail sections, will expand vertically to fill the entire height of the Detail Section. This is particularly useful when the vertical size of a Detail Section is variable, which happens when pictures are printed for some line items and not others.
Inserting Formula Fields into a Layout
See Formula Field Concepts section for details.