Follow these instructions for setting up the DataLink to push additional QuoteWerks fields into your MS CRM opportunities.
Setup
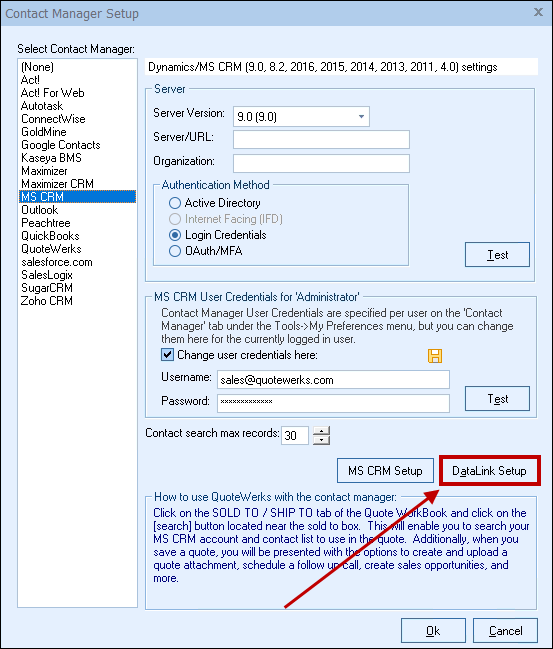
To setup the DataLink, click on Contacts-> Setup Contact Manager menu selection. Highlight (if not already highlighted) MS CRM and click on the [DataLink Setup] button on the window.
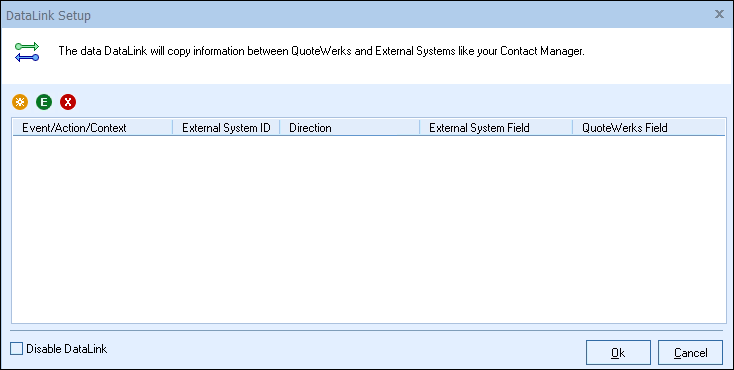
The DataLink Setup window will open. If you have not created a DataLink yet, the field will be blank:
Create, Edit, Delete DataLinks
The three icons on the top left of the window will allow you to create ( ), edit (
 ), and delete (
 ) DataLinks.
Creating a new DataLink
In the following example we are going to walk through how to push the Document Name from QuoteWerks and have it populate a field in the MS CRM Opportunity. You can push a variety of fields through the DataLink mapping window. However, you will need to create a new DataLink for each field you would like to populate in MS CRM.
Step 1: Click on the create () button.
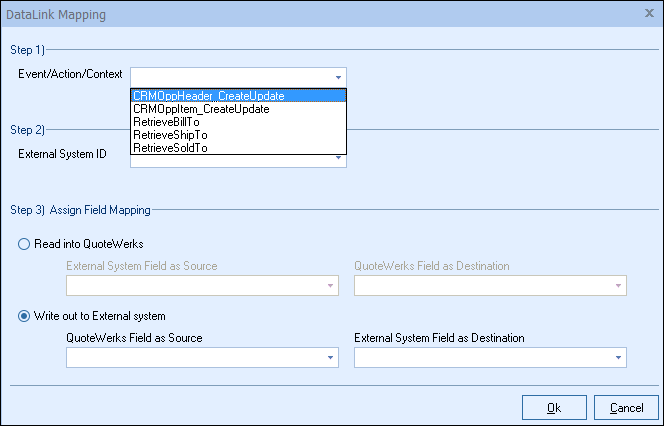
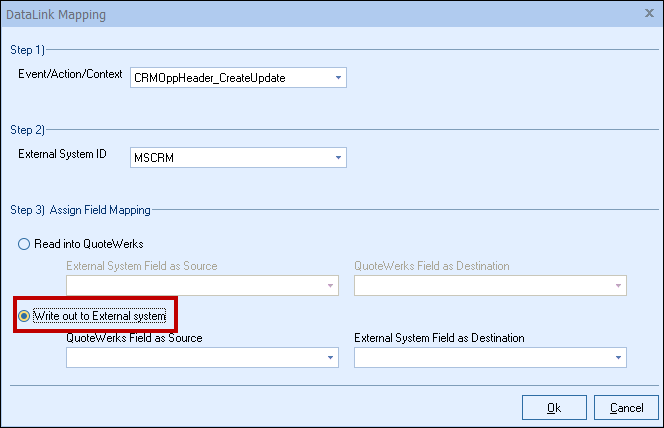
Step 2: On the next window (DataLink Mapping), change the first drop-down menu to CRMOppHeader_CreateUpdate to choose to push a DocumentHeader field from QuoteWerks to the MS CRM Opportunity or CRMOppItem_CreateUpdate to push item related information into MS CRM. This will also support the ability to push item details into the quote items created from QuoteWerks into the MS CRM quote.
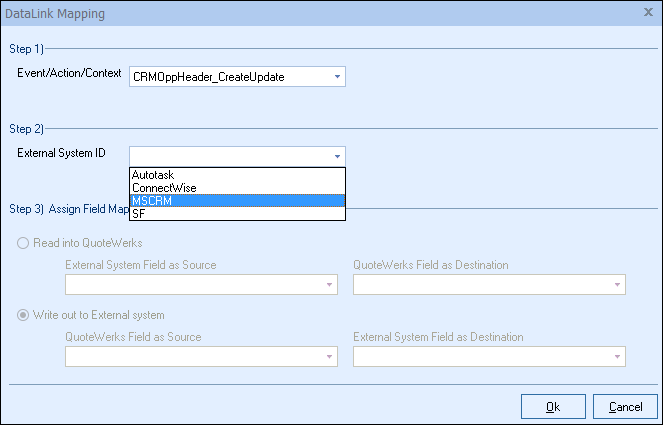
Step 3: Under the External System ID field, change the drop down to MSCRM.
Step 4: On the next field of Assign Field Mapping click on the radial button for Write out to External System.
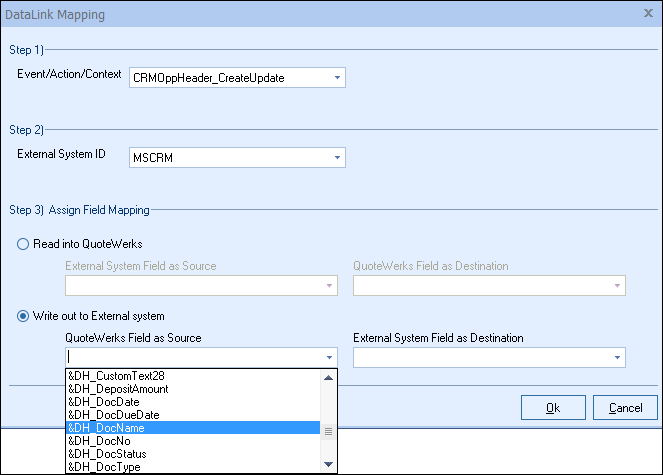
Step 5: The drop down for QuoteWerks Field as Source will list the fields available from QuoteWerks. Select the field you would like to push into MS CRM.
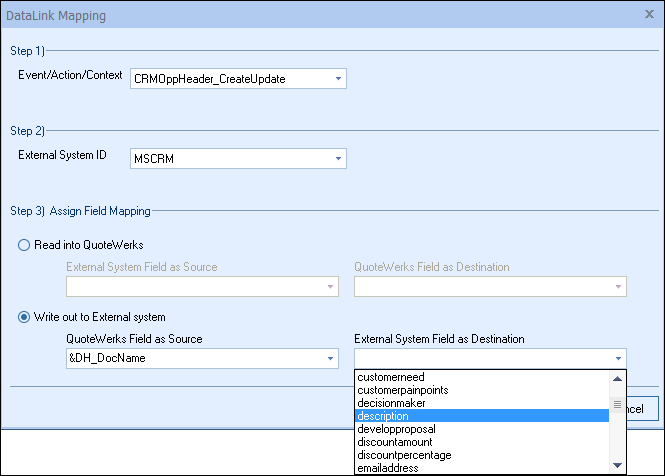
Step 6: Once your External field as source is selected, choose the QuoteWerks field that you would like the data from MSCRM to populate in the QuoteWerks Field as a Destination.
Step 7: Click [Ok] to complete the DataLink Mapping.

Editing an existing DataLink
To edit an existing DataLink, highlight the link and click on the edit () button. This will open the DataLink Mapping window and allow you to change any of the fields previously set for that DataLink.
Deleting an existing DataLink
To delete an existing DataLink, highlight the link and click on the delete () button. This will remove that specific DataLink from your system. Please note, this cannot be undone.
Disabling a DataLink
Disabling a DataLink will let users disable the DataLink from working without having to remove the link. This is very useful if you need to stop a DataLink from working for a period of time, but do not want to remove it from the DataLink list.
To disable a DataLink, highlight the DataLink and click on the checkbox for Disable DataLink. Uncheck it to re-enable the DataLink.